
Tailwind CSS like utility-first styling with NativeWind in Next.js and React Native


Table of contents
NativeWind allows developers to use the same styles across different react-native based platforms which include web and mobile apps. It does this by using Tailwind CSS, which is a set of pre-defined CSS classes that can be easily combined to create complex styles. Components styled using NativeWind uses CSS StyleSheet on the web and StyleSheet.create for the react-native app and because of that, we can achieve consistent styling across all platforms, and code sharing between platforms without affecting the performance. In this post, we will explore how to use NativeWind in both Next.js and React Native, two popular platforms for building web and mobile applications.
Before we can start using NativeWind in our Next.js and React Native projects, we need to set up a base project structure that will allow us to easily manage and develop our code for both web and mobile. One tool that can be helpful for this is Nx workspace, which is a powerful set of tools and plugins for creating and maintaining monorepos.
A monorepo is a single version-controlled repository that contains multiple projects or libraries, each with their own dependencies and build configurations.
Let's get started!
Base project setup
Installation and creation of the Next JS app
To create a new Nx workspace we can use the following command
# npx create-nx-workspace [name] [options]
npx create-nx-workspace universal-app --preset=next
here workspace (monorepo) name is a universal-app and --preset=next is passed as an option to create the default Next JS app inside this workspace. You can explore more about create-nx-workspace and options here.
After running the command CLI will prompt some configuration options which we need to provide. You can make the same choices as shown below image.
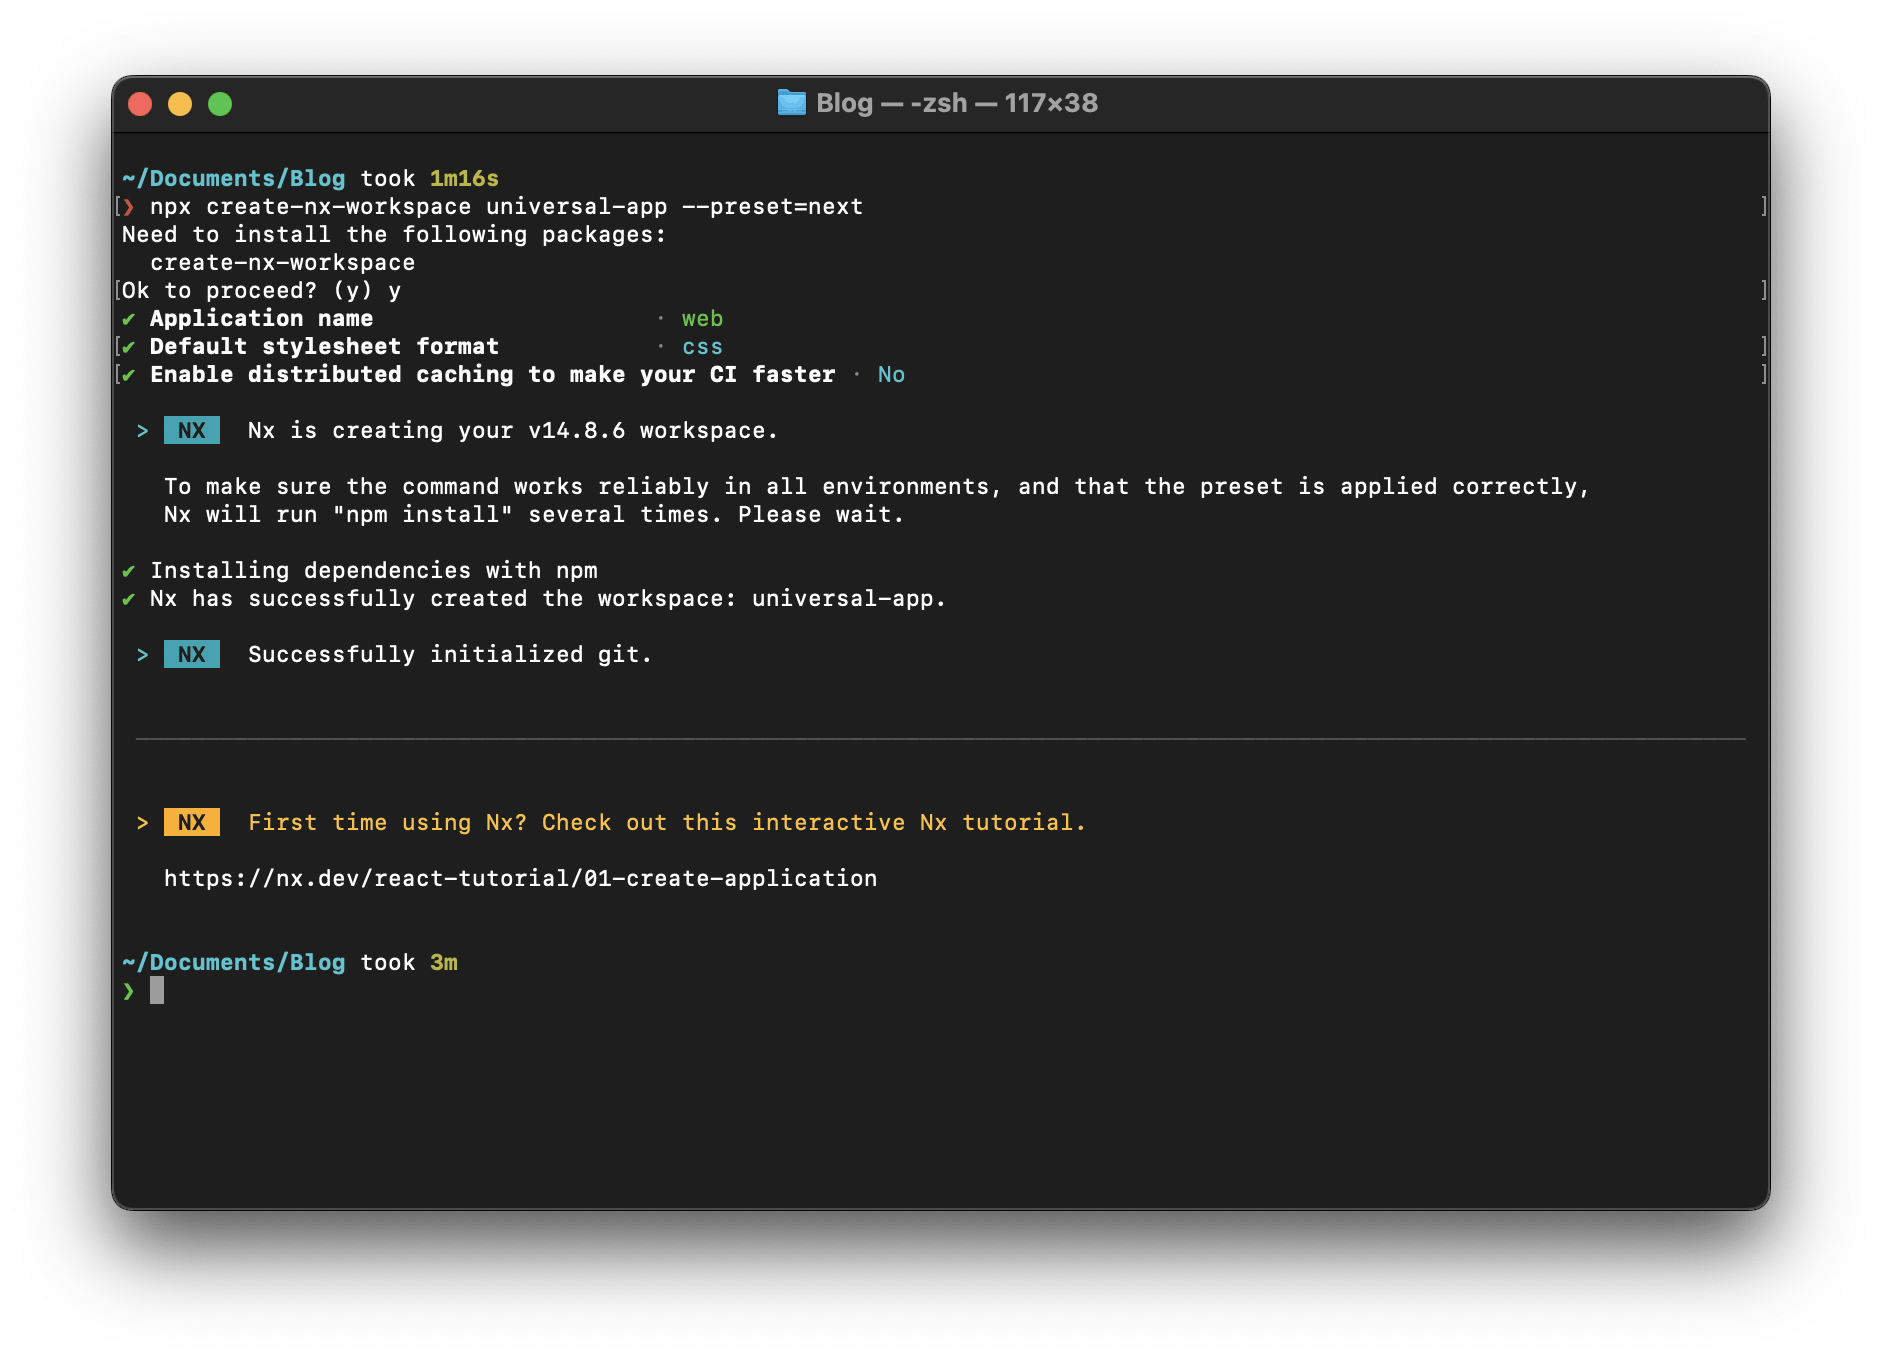
Once the project creation is completed you can open the project in your code editor and see the Next JS project named web inside the apps folder.
Adding expo react-native app in the workspace
To create an expo react-native in the Nx workspace first we need to install @nrwl/expo the package as a dev dependency. For that run the following command
cd universal-app # optional: if you are not in project root
npm install @nrwl/expo -D
once the installation is completed we can use generate utility from @nrwl/expo to create a react-native app. For that run the following command
# npx nx generate @nrwl/expo:application [name]
npx nx generate @nrwl/expo:application mobile
Once the above command is completed you can see the react-native project named mobile inside the apps folder.
😮💨 That was a lot of steps for base setup, but don't worry, we're almost done.
react-native-web setup in the Next JS app
Our goal is here to reuse the same styles or components on both platforms and for that our Next JS app should be able to use components from react-native and we can achieve that using react-native-web.
react-native-web enables you to write web applications using the same declarative components and APIs that you would use to build a native mobile app, which can help to simplify the development process and make it easier to build applications that work across multiple platforms.
Let's start by adding some dependencies
npm install react-native-web
npm install --save-dev babel-plugin-react-native-web
After installation open next.config.js file which is present in our NextJS app and paste the webpack config below
//@ts-check

// eslint-disable-next-line @typescript-eslint/no-var-requires
const { withNx } = require('@nrwl/next/plugins/with-nx');

/**
 * @type {import('@nrwl/next/plugins/with-nx').WithNxOptions}
 **/
const nextConfig = {
  nx: {
    // Set this to true if you would like to to use SVGR
    // See: https://github.com/gregberge/svgr
    svgr: false,
  },
  webpack: (config) => {
    config.resolve.alias = {
      ...(config.resolve.alias || {}),
      // Transform all direct `react-native` imports to `react-native-web`
      'react-native$': 'react-native-web',
    };
    config.resolve.extensions = [
      '.web.js',
      '.web.ts',
      '.web.tsx',
      ...config.resolve.extensions,
    ];
    return config;
  },
};

module.exports = withNx(nextConfig);
The code block first adds an alias for react-native imports, which tells Webpack to transform all direct imports of react-native to react-native-web. This can be useful when we will use components and APIs from react-native in the Next JS app. The next block of codes adds .web.js, .web.ts, and .web.tsx extensions to the extensions array in the resolve object, which tells Webpack to look for these types of files when resolving imports.
Next, create a babel.config.js file inside the root of the Next JS app and paste the following code
module.exports = {
  presets: ['@nrwl/next/babel'],
  plugins: [['react-native-web', { commonjs: true }]],
};
And at the end just add the following CSS in apps/web/pages/styles.css
html,
body,
#__next {
  width: 100%;
  min-height: 100%;
  margin: 0px;
  padding: 0px;
  /*enables smooth scrolling on touch-based devices. */
  -webkit-overflow-scrolling: touch;
}

body {
   /* scroll if its content exceeds the height of the viewport */
  overflow-y: auto;
  /* disable the bounce effect at then end of page */
  overscroll-behavior-y: none;
  text-rendering: optimizeLegibility;
  -ms-overflow-style: scrollbar;
}
This will be useful in the page has a root element as ScrollView.
Hooray! The base setup is done now Let's run the apps.
Running the app and checking the setup
To test whether react-native-web is working in the Next JS app update the apps/web/pages/index.tsx .
import { Text, View } from 'react-native';

export function Index() {
  return (
     <View>
      <Text style={{ textAlign: 'center', fontSize: 30 }}>
        react-native-web working
      </Text>
    </View>
  );
}

export default Index;
Open package.json present at the workspace root and add the following scripts
"scripts": {
    ....
    "start:web": "nx run web:serve",
    "start:app": "nx run mobile:start"
  },
We can use the following commands to run the apps
# for web
npm run start:web

# for mobile app
npm run start:app
NativeWind Setup
Installation
We need to add nativewind in dependencies and tailwindcss, postcss, autoprefixer in devDependencies for that we can use the following commands
npm install -D tailwindcss postcss autoprefixer
npm install nativewind next-transpile-modules
Next JS NativeWind setup
First, open the terminal in the web project root.
cd apps/web
Run the command below command to create a tailwind.config.js
npx tailwindcss init
tailwind.config.js contains a set of default configuration options for Tailwind CSS.
Add the following code in this newly created config file
const { createGlobPatternsForDependencies } = require('@nrwl/react/tailwind');
const { join } = require('path');

/** @type {import('tailwindcss').Config} */
module.exports = {
  content: [
    join(
      __dirname,
      '{src,pages,components}/**/*!(*.stories|*.spec).{ts,tsx,html}'
    ),
    ...createGlobPatternsForDependencies(__dirname),
  ],
  plugins: [require('nativewind/tailwind/css')],
  important: 'html',
  theme: {
    extend: {},
  },
};
The content array in this code snippet specifies a set of file patterns that should be included in the build process for purging purposes. createGlobPatternsForDependencies is used so that even our components in other Nx libs (we will explore at the end how we can create a lib to reuse code) their paths can resolve without issues.
Next, we provided nativewind/tailwind/css as a plugin because NativeWind adds some extra features and we want to use them.
After that, we added important: 'html' this will solve the issue of our Tailwind CSS styles getting overridden by NativeWind.
Inside postcss.config.js add the below code
const { join } = require('path');

module.exports = {
  plugins: {
    tailwindcss: {
      config: join(__dirname, 'tailwind.config.js'),
    },
  },
};
Let's make changes in apps/web/project.json target build configuration to use this postcss.config.js file.
"targets": {
    "build": {
      // ........
      // .....
      "options": {
        ........
        "postcssConfig": "apps/web/postcss.config.js"
      },
// .......
// ....
Now let's set up the compiler. For that open babel.config.js and add 'nativewind/babel' in the plugins.
module.exports = {
  presets: ['@nrwl/next/babel'],
  plugins: [['react-native-web', { commonjs: true }], 'nativewind/babel'],
};
Next, we just need to make changes in apps/web/next.config.js to help in code transpilation.
//@ts-check

// eslint-disable-next-line @typescript-eslint/no-var-requires
const { withNx } = require('@nrwl/next/plugins/with-nx');

const withTM = require('next-transpile-modules')(['nativewind']);

/**
 * @type {import('@nrwl/next/plugins/with-nx').WithNxOptions}
 **/
const nextConfig = {
  /*.....
  ....
  ...
  ..*/
};

module.exports = withTM(withNx(nextConfig))
Here we are calling the next-transpile-modules function with the ['nativewind'] argument, it returns a function that can be used to configure the Next.js build process to transpile the nativewind module. And in the end, we are using this withTM
variable.
At the last, we just add the Tailwind directives at the top of our CSS file.
/* apps/web/pages/styles.css */

@tailwind base;
@tailwind components;
@tailwind utilities;

/* other CSS */
We've successfully completed the NativeWind setup for Next JS 🥳 🥳
React Native NativeWind setup
To get NativeWind working in react-native we first need to add tailwind.config.js same as we did for Next JS.
cd apps/mobile
npx tailwindcss init
After the creation of tailwind.config.js we will add the same content config as web to resolve file paths.
// apps/mobile/tailwind.config.js

const { createGlobPatternsForDependencies } = require('@nrwl/react/tailwind');
const { join } = require('path');

/** @type {import('tailwindcss').Config} */
module.exports = {
  content: [
    join(
      __dirname,
      '{src,pages,components}/**/*!(*.stories|*.spec).{ts,tsx,html}'
    ),
    ...createGlobPatternsForDependencies(__dirname),
  ],
  theme: {
    extend: {},
  },
  plugins: [],
};
And lastly in babel.config.js just configure the nativewind/babel plugin.
module.exports = function (api) {
  api.cache(true);
  return {
    presets: ['babel-preset-expo'],
    plugins: ['nativewind/babel'],
  };
};
Typescript
If we try to pass className to any react-native elements, we will notice the following typescript error which basically tries to say that component does not accept className as property.
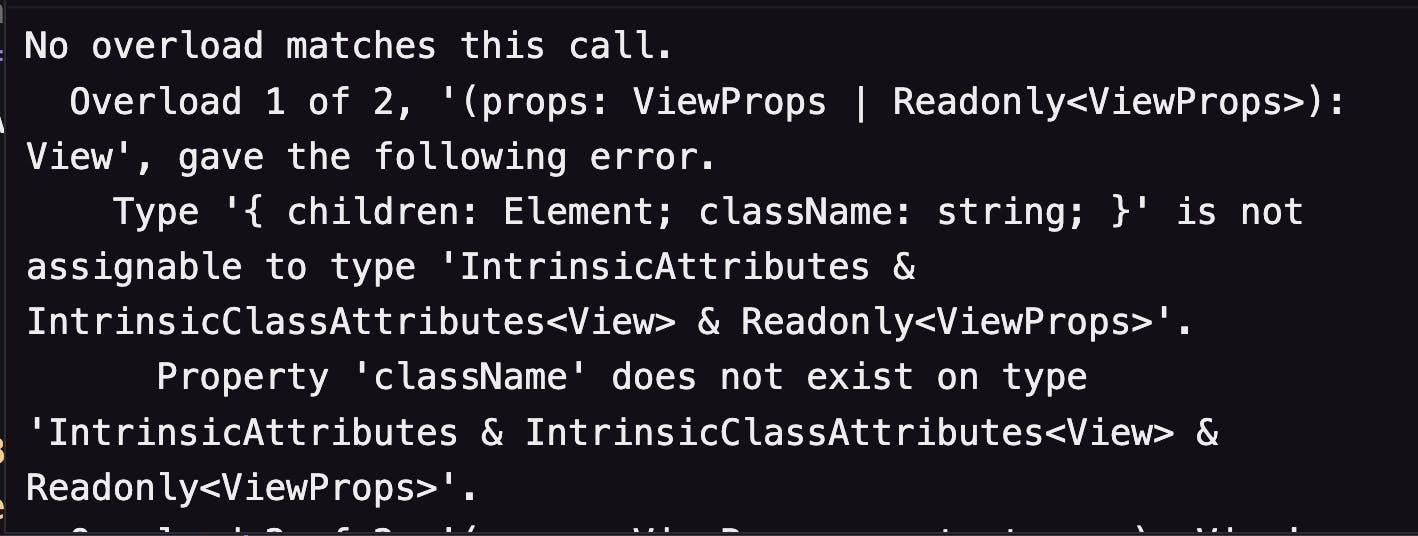
To fix this we can just create app.d.ts in mobile and web.d.ts in web and add the following code
/// <reference types="nativewind/types" />
Here NativeWind is extending the React Native types via declaration merging.
With this our react-native app is also ready to use NativeWind 🤩.
Using NativeWind in apps
Let's first create a components lib in our workspace which will contain our components made using NativeWind and will be available to use in the next and react-native app.
Run the following command in the workspace root to generate a lib
npx nx generate @nrwl/react:library components --style=none --minimal --pascalCaseFiles --unitTestRunner=none
The generate is the command used to generate a new library in the Nx workspace. The @nrwl/react is the plugin used to generate a library that contains React components. The library keyword specifies that the generated code should be a library. components is the name of the library we are creating. Additionally, some option flags are passed as below :
--style=noneis used to specify that the generated library should not include any styles.--minimalis used to generate the minimum set of files necessary for the library.--pascalCaseFilesis used to specify that the generated files should use PascalCase naming conventions.The
--unitTestRunner=noneis used to specify that the generated library should not include any unit tests.
After the above command completes the execution we can see the components folder inside the libs folder.
Let's create our first Text component which will use NativeWind 🤩
Create a folder Named Base inside libs/components/src/lib. Inside the Base folder creates a file for the Text component and paste the following code.
(file Path: libs/components/src/lib/Base/Text/index.tsx)
//libs/components/src/lib/Base/Text/index.tsx

import { Text as RNText } from 'react-native';
import { styled } from 'nativewind';

export const Text = styled(RNText);
A styled() is a HOC (Higher-Order Component) provided by NativeWind which allows components to accept either the tw or className props.
So basically in the above code snippet, we are just importing Text component from react-native module as RNText and wrapping that with styled() HOC and exporting as Text to use it in our project.
We can additionally also specify some base styles to the Text component as follows
export const Text = styled(RNText,'font-bold text-4xl');
Now to use the create Text component in web and mobile apps first we need to export it from our components lib
//libs/components/src/index.ts
export * from "./lib/Base/Text"
Finally, we can use this in our app we can import like this
import { Text } from "@universal-app/components";
here @universal-app is our workspace name and components is the name of lib which has this Text component.
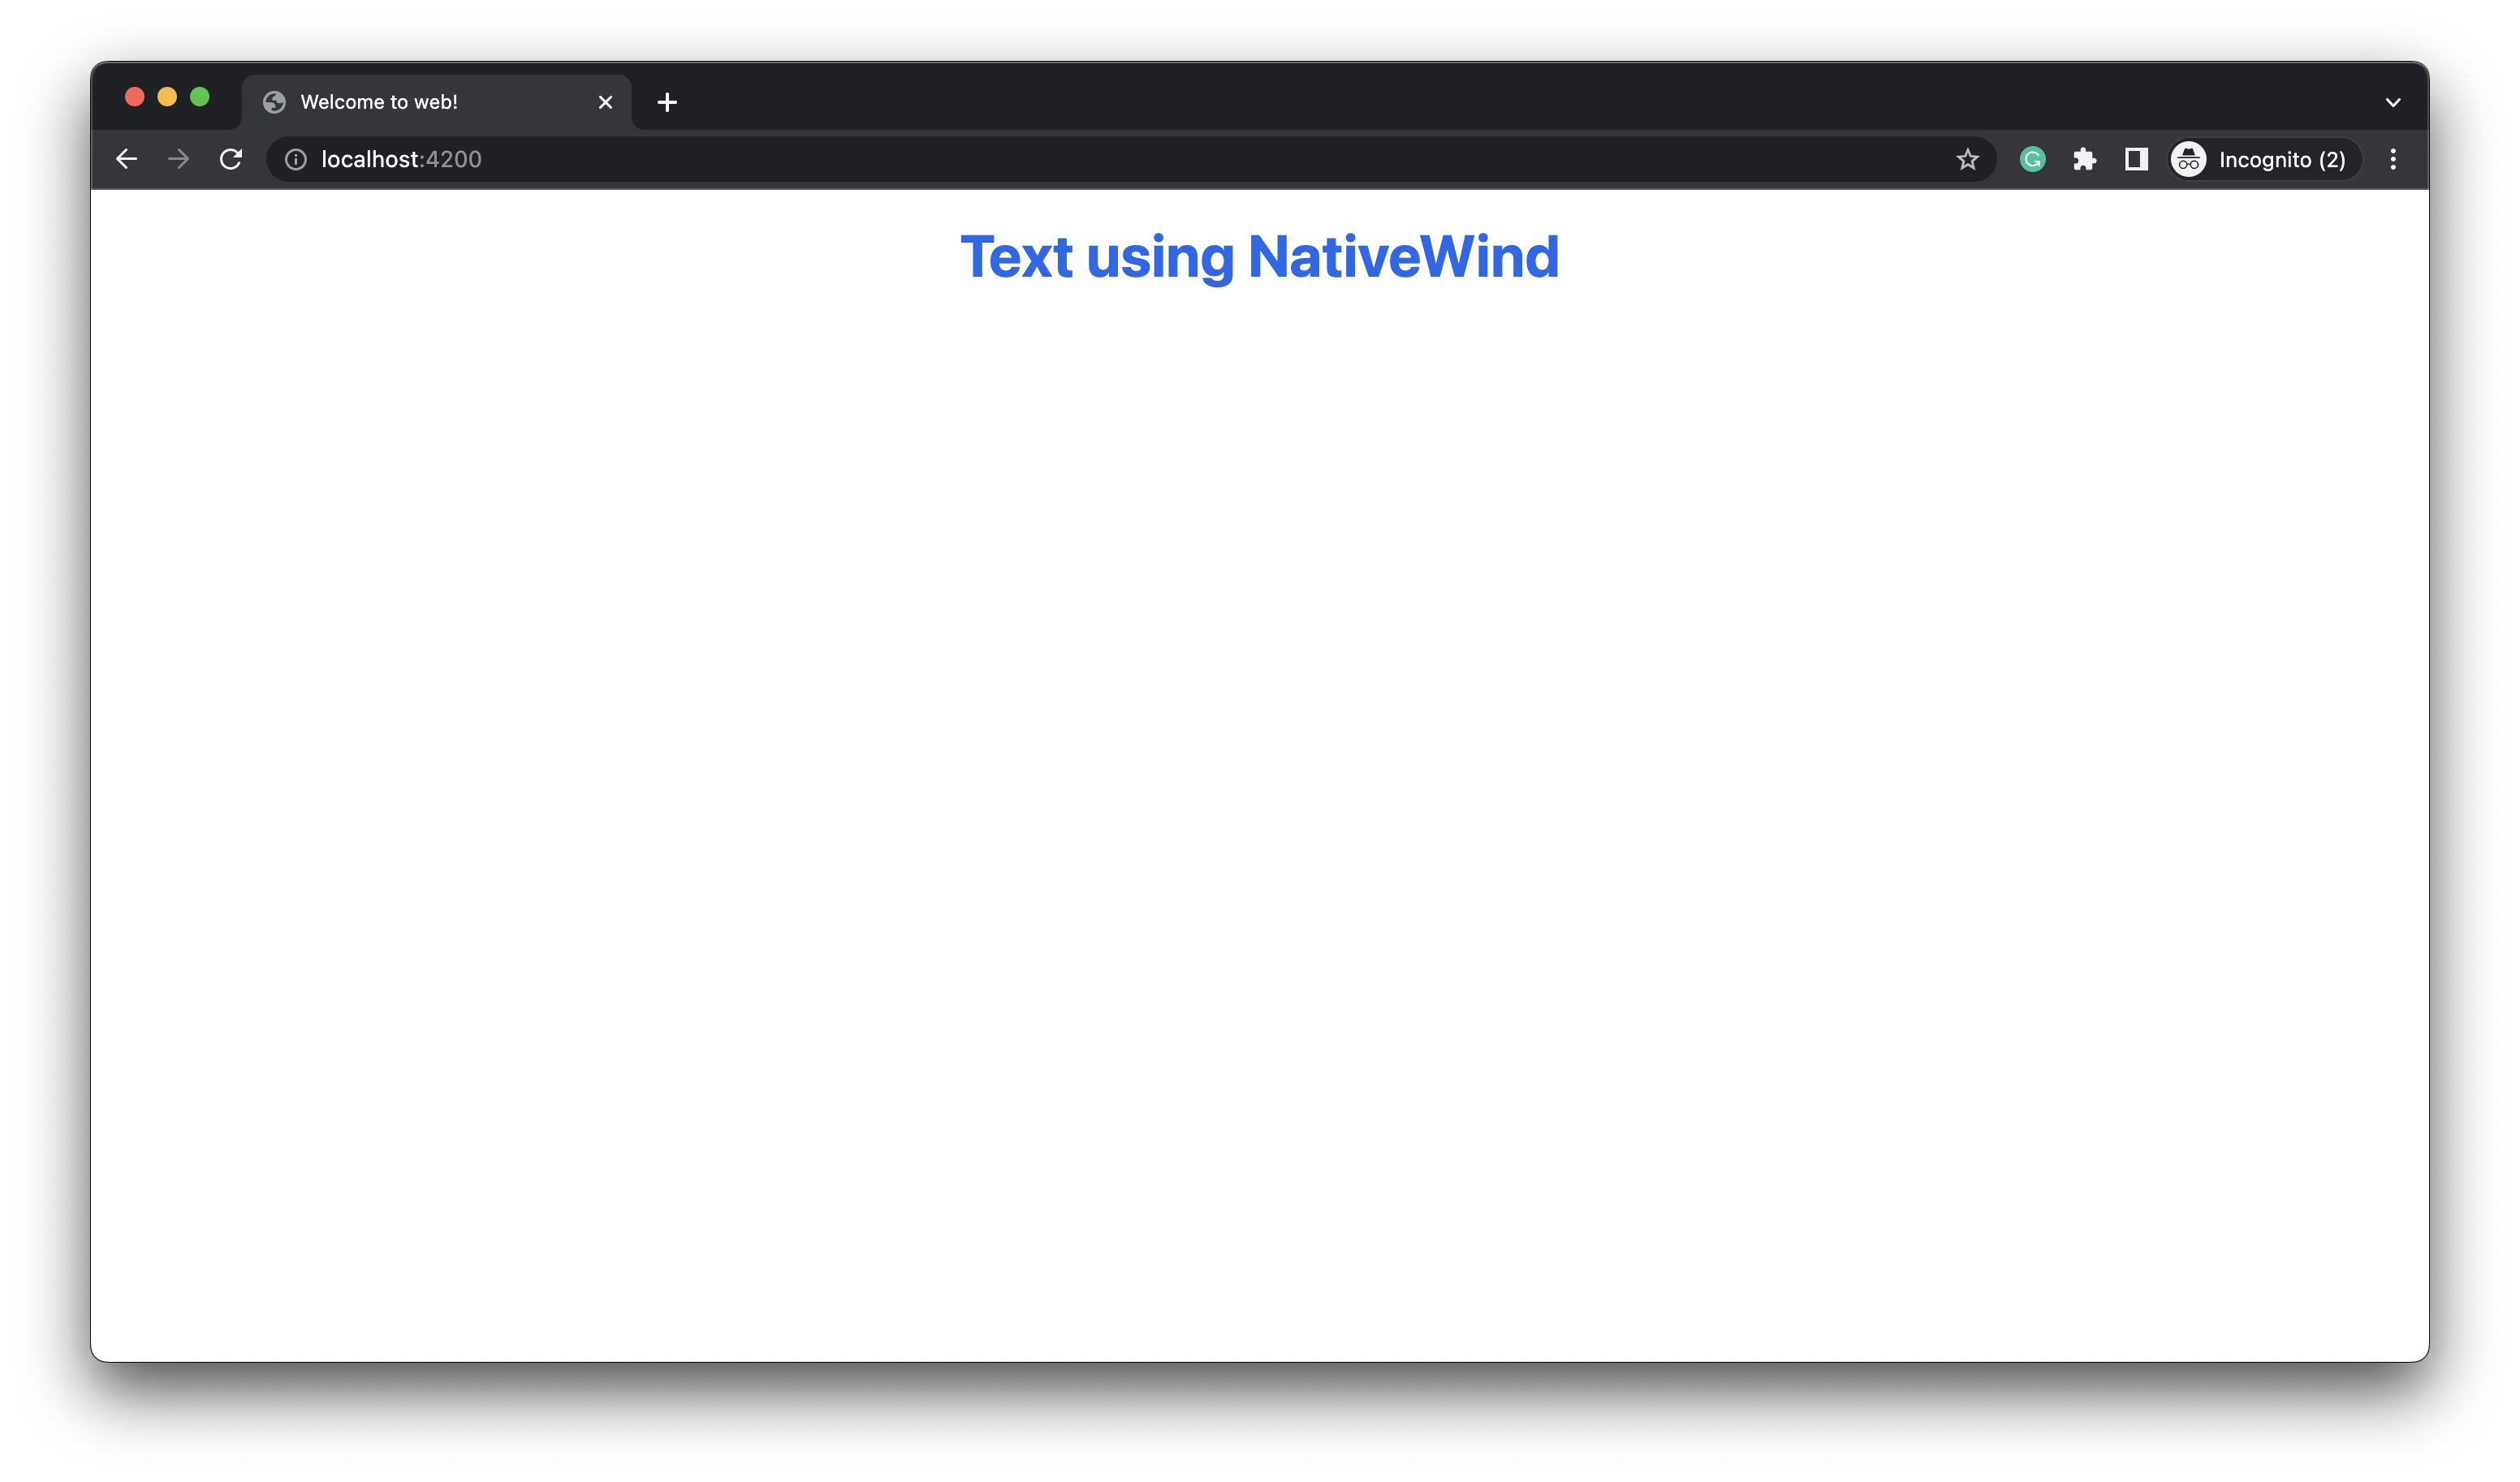
In the Next JS app
//apps/web/pages/index.tsx
import { Text } from "@universal-app/components";
import {  View } from "react-native";
export function Index() {
  return (
    <View>
      <Text className="text-center mt-5 text-blue-600">Text using NativeWind</Text>
    </View>
  );
}
export default Index;
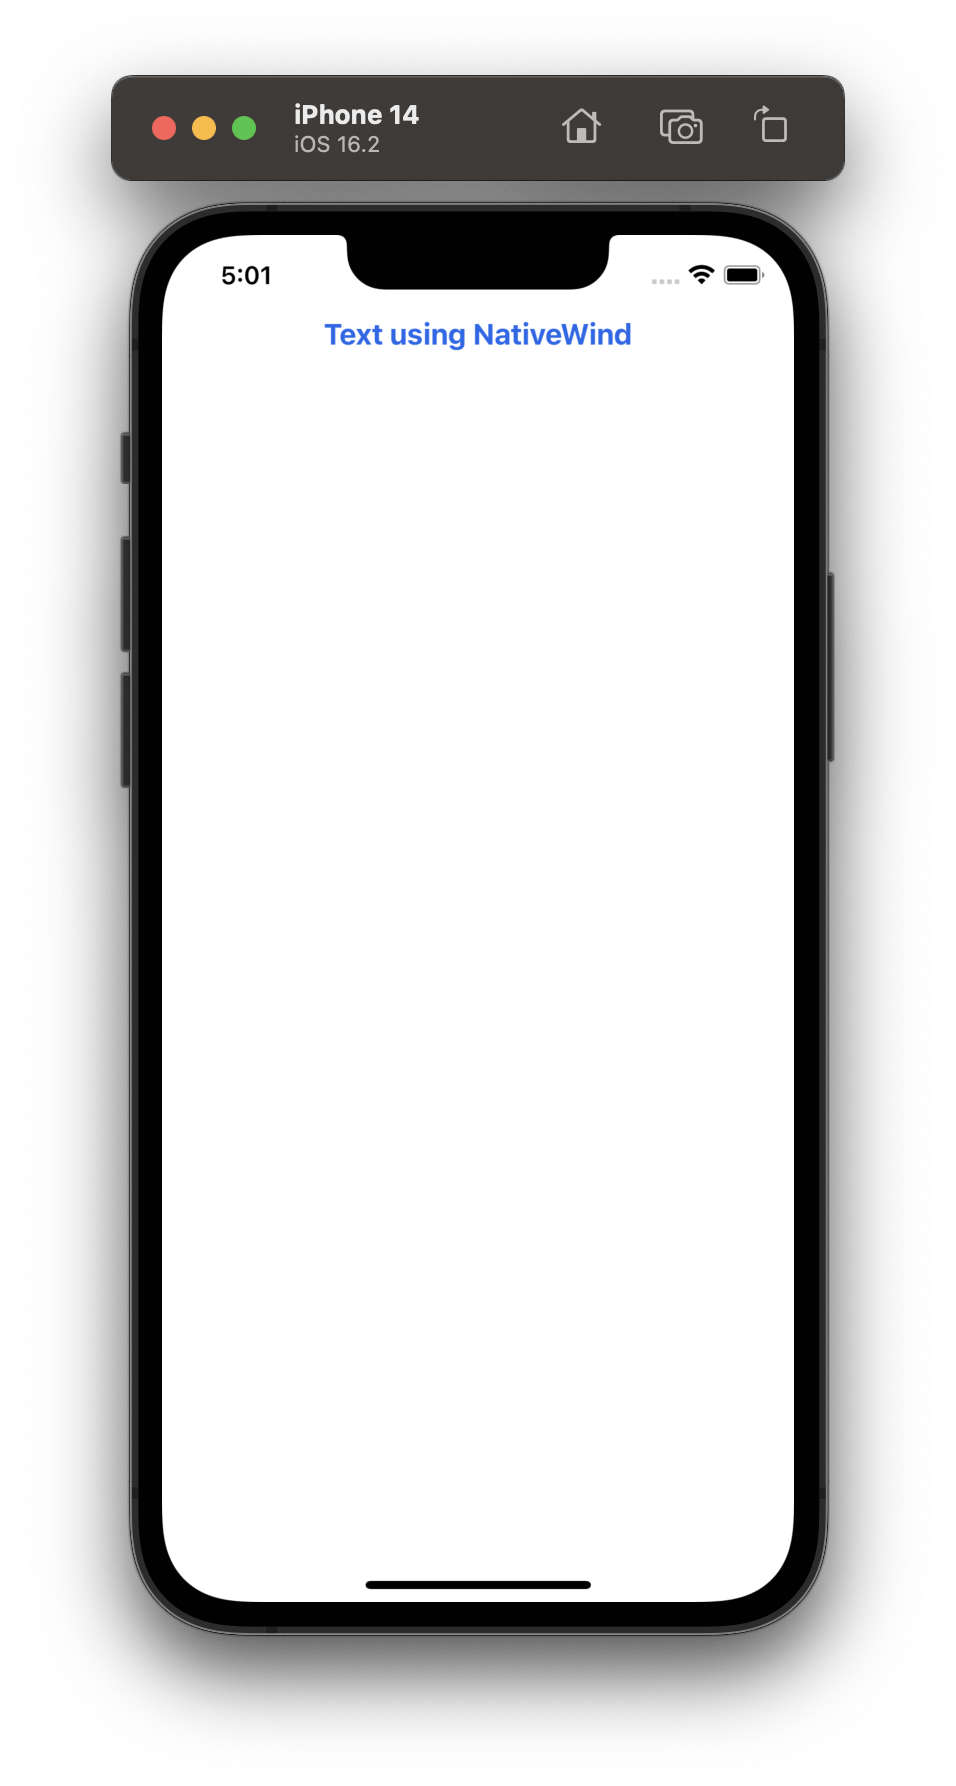
In the ReactNative app
//apps/mobile/src/app/App.tsx
import React from 'react';
import { SafeAreaView, View, StatusBar } from 'react-native';
import { Text } from '@universal-app/components';

const App = () => {
  return (
    <>
      <StatusBar barStyle="dark-content" />
      <SafeAreaView>
        <View>
          <Text className="text-center text-blue-600">
            Text using NativeWind
          </Text>
        </View>
      </SafeAreaView>
    </>
  );
};
export default App;
We can also use all Tailwind pseudo-classes like hover , focus , active , dark mode variant, also some platform variants like ios, android, web, windows, macos provided by NativeWind.
 <Pressable
   className="dark:bg-black bg-white py-3 rounded-full
hover:bg-gray-600 my-5"
   onPress={onPress}
 >
    <Text className="dark:text-white text-black text-center text-base font-bold">
        {label}
    </Text>
</Pressable>
Conclusion
NativeWind is a powerful lib that allows developers to easily create consistent, reusable styles across multiple react-native platforms. By setting up a base project structure using Nx workspace and integrating react-native-web into our Next.js app, we can easily share components and styles between our web and mobile projects, improving code maintainability and developer experience. With these techniques, you can streamline your styling workflow and build universal react-native applications with ease.
GitHub repo for reference